HTML BASICS
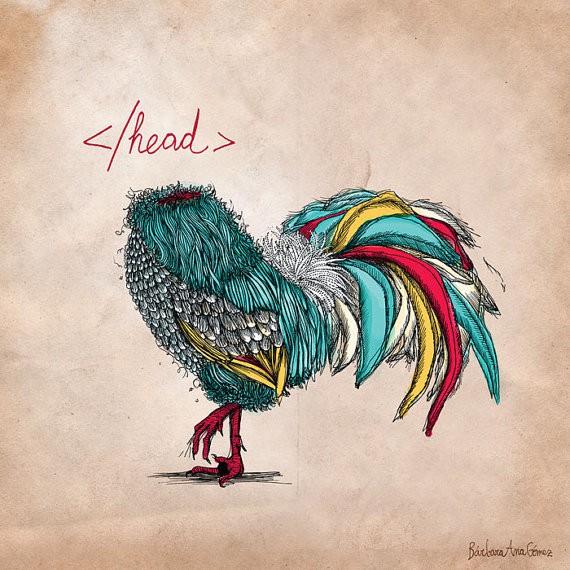
headless chicken – artwork by barbaranashop on etsy
{here}
Do you look at other people’s blogs and sites and sigh wistfully at how fab they look and wonder how they get it looking like that? Are you scared witless by all the techy stuff, and just go with whatever the program spits out for you? What the hell is “html” anyway?
You don’t have to be scared of html – the basics are easy peasy! And a few simple words of code can really make your text
pop.
There’s lots of places you can use tags – in your blog posts or websites (if you’re in Blogger, there’s an “HTML” button at the top left of your “compose” screen, or if you’re in WordPress, use the “text” tab at the top right of the screen), on your emails and so on. You can also use it in a lot of the comment boxes that are on other people’s sites (you can do it on my blog here – read the rest of this post and then go ahead and leave me a formatted comment, I dare you! 🙂 ). Once you know what to look for, you’ll find lots more places to use it too!
HTML stands for “hypertext markup language” and is basically a coding language that tells the computer how to format your screen page – where to put images, and what your text should look like (big, small, colourful). It operates with a system of tags that are used within a very specific set of rules, or syntax.
Tags are the various commands you can use in html and are always written inside the symbols “<” and “>”, and syntax is the order they are required to be written in for them to work properly. Each tag has two parts – one to show when the special formatting starts, – <command>, and one to show when it ends – </command>. For instance, when I’m writing something and I want to make the word “large” bigger, I would write the html like this :
<big>large</big>
and it would look like this – large.
Easy, right?
So here are my absolute favourite tags that I use all the time.
1. Bold or italic :
In lots of places, changing your text to bold or italic is as simple as clicking on the “B” or “I” button at the top of your page. But what that actually does in html is insert tags – for bold, html uses the tags <b> and </b> ; italic uses <em> and </em>.
2. Text size :
There are a few different ways to change the the text size (including using headings of course!), but at its simplest, you can make the text small by using the tags <small> and </small> (great for subtexts); and making it larger by using the tags <big> and </big> for something that’s important, but not quite worthy of bold or capitals.
<small>little</small> = little
<big>large</big> = large
3. Centre, left and right.
Again, often these formats are easily managed with the on-screen text editor, but it’s still useful for those times when it isn’t available, like when you’re loading widgets into your side bar. Usually, the default is left-justified text. But there may be occasions when you need to actually specify it.
It all starts with the paragraph tag. This is shown as <p> (insert your choice of text here) </p>. This will insert a paragraph break after the closing tag.
The obvious reason to have centre, left and right in with the paragraph tag is because you can’t centre one word in a sentence, unless it’s on a different line to the next words. So, the tags become
<p style=”text-align: center;”>centre</p>
which looks like this;
<p style=”text-align: left;”>left</p>
which looks like this, and
<p style=”text-align: right;”>right</p>
which looks like this.
There are many other “style” tags to choose from too.
4. Colour
Colour is another very favourite thing. Sure, in many instances, your editor will have a built-in colour option, but it may only offer you a limited range of colours. You can get any colour you want by editing the hex key part of that tag – that’s the 6-letter/number combo that appears after the # in the colour tag.
The tags for crimson look like this – <span style=”color: #e31e3c;”>crimson</span>
And yellow looks like this – <span style=”color: #f9d53f;”>yellow</span>
5. Hyperlinks
This is THE beauty of html!!! Hyperlinks allow just about anything – images OR text – to be clickable – speeding you through the interwebs as fast as your carrier will take you….
Want to find more about nudibranchs? Click here!
Want to find out how to service your sewing machine? Click here!
Heck, do you want to find out more about tractorgirl? Well then, click here!
Hyperlinks are the bread and butter of the internet. They take the format
<a href=”[site address here]” target=”_blank”>[text]</a>.
I KNOW that looks like a big slab of stuff to remember to write, and don’t you dare get even one character in the wrong order or your link won’t work… 8(
So here’s my secret – copy and paste the hard stuff!! When something else is doing what you want it to (like a hyperlink, or some of the trickier text formatting), copy and paste the whole lot of the html, and then just edit the bits you need.
To produce the hyperlink to my Facebook page, I would write
<a href=”https://www.facebook.com/tractorgirlmakes” target=”_blank”>Facebook page</a>.
If you want to make the image clickable (like the fabulous Headless Chicken at the top of this post {btw, </head> means “the end of the head section of text”}, then you need to write this string of code, which firstly tells the editor the site address to go to when it’s clicked (shown in red), and then where to find the image (shown in green. It’s stored in my WordPress files, hence the ‘tractorgirl.com.au’ at the beginning of the address). It also tells the editor how big to make the image (570px wide x 570px high).
<a href=”http://barbarana.etsy.com” target=”_blank”><img class=”aligncenter size-full wp-image-11790″ src=”https://tractorgirl.com.au/wp-content/uploads/2014/06/html-basics-barbaranashop-etsy-headless-chicken.jpg” alt=”headless chicken by barbaranashop on etsy ” width=”570″ height=”570″ /></a>
Like I said, when it gets complicated, just cut, paste and edit – it’s absolutely what I do! So go and set up a few draft posts on your blog and have a play; the more you practise, the more sense it will make. Trust me.
*
OK!! got all that? Now, I want you to leave me a comment using tags. For instance, if you write <i>fabuloso!!</i> it will look like this – fabuloso! (Hey, you could even just copy and paste that red bit…) Don’t worry if you don’t get it right the first time – have fun and experiment! And if you use the tips above to make your blog prettier, tell me about it, and leave a link 🙂
Julie X